Embark on your Android Studio installation journey with this comprehensive guide, perfect for those new to app development.
Learn the ins and outs of setting up Android Studio on different operating systems and optimizing its performance.
Introduction to Android Studio Installation
Android Studio is the preferred Integrated Development Environment (IDE) for Android app development due to its comprehensive set of tools and features specifically designed for Android development. It offers a user-friendly interface, seamless integration with Android SDK, and powerful debugging capabilities.
Overview of the Installation Process
To install Android Studio, you need to download the latest version from the official website and follow the step-by-step installation instructions. The process involves setting up the IDE, configuring SDK components, and creating a virtual device for testing your apps.
System Requirements for Installing Android Studio
- Operating System: Android Studio is compatible with Windows, macOS, and Linux.
- RAM: Minimum of 3GB RAM, but recommended 8GB or higher for optimal performance.
- Disk Space: Requires at least 4GB of disk space for the IDE and additional space for SDK components and app projects.
- Processor: Intel i5 or higher processor for smooth operation.
Downloading Android Studio
Downloading Android Studio is a crucial step in setting up your development environment for Android app development. Below are the detailed steps to download Android Studio from the official website and other alternative sources, along with the importance of choosing the correct version for your operating system.
Official Website Download
To download Android Studio from the official website, follow these steps:
- Go to the official Android Studio website at https://developer.android.com/studio .
- Click on the “Download” button.
- Choose the appropriate version for your operating system (Windows, Mac, or Linux).
- Click on the “Download” button to start the download.
- Once the download is complete, run the installer to set up Android Studio on your computer.
Alternative Sources
In addition to the official website, you can also download Android Studio from alternative sources like:
- Third-party software repositories
- Developer forums and communities
- Software distribution platforms
Importance of Correct Version
It is crucial to download the correct version of Android Studio based on your operating system to ensure compatibility and optimal performance. Using the wrong version may lead to errors or issues during the development process. Always double-check the system requirements and download the appropriate version for a seamless experience.
Installation on Windows

When installing Android Studio on a Windows machine, there are specific steps to follow to ensure a successful setup. Below is a detailed guide to help you through the process.
Step-by-Step Guide
- Download the Android Studio installer from the official website.
- Run the downloaded installer and follow the on-screen instructions.
- Choose the components you want to install, including the Android SDK, Android Virtual Device, and performance tools.
- Select the installation location and click “Next” to proceed.
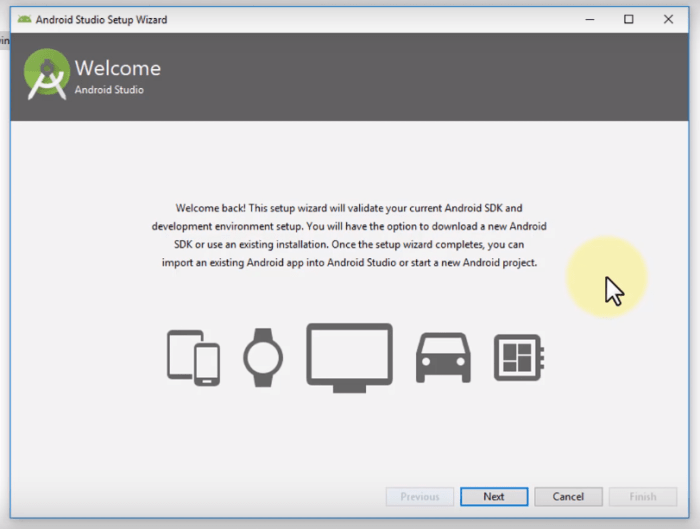
- Once the installation is complete, launch Android Studio and set up your development environment.
Common Issues
- If you encounter any errors during installation, make sure to check your system requirements and internet connection.
- Some users may face issues with the installation wizard freezing or crashing, which can be resolved by restarting the process.
- Ensure that you have the latest version of Java installed on your system to avoid compatibility issues.
Additional Configurations
- After installing Android Studio, configure the SDK Manager to download the necessary SDK tools and platforms for your development projects.
- Set up virtual devices in the AVD Manager to test your apps on different Android versions and device configurations.
- Adjust the IDE settings to customize your development environment according to your preferences.
Installation on macOS
When installing Android Studio on macOS, there are specific steps to follow in order to ensure a successful installation. Unlike Windows, macOS has its own unique process for setting up Android Studio on your machine. Let’s explore the installation steps and any macOS-specific tips for a smooth setup.
Downloading Android Studio for macOS
- Go to the official Android Studio website and click on the “Download” button for macOS.
- Once the download is complete, open the .dmg file to start the installation process.
- Drag and drop Android Studio into the Applications folder to install the software on your macOS system.
Setting Up Android Studio on macOS
- Open Android Studio from the Applications folder or using Spotlight search.
- Follow the on-screen instructions to complete the setup wizard.
- Install the necessary SDK components and tools for Android development.
macOS-Specific Tips for Installation
Make sure to have the latest version of Java installed on your macOS system before running Android Studio, as it is a requirement for the software to function properly.
Configuring Android Studio on macOS
- Set up virtual devices or connect a physical Android device for testing your apps.
- Customize the IDE settings to suit your preferences and workflow.
- Import any existing projects or start a new project to begin your Android development journey.
Installation on Linux
When it comes to installing Android Studio on a Linux distribution, there are specific steps to follow to ensure a smooth installation process. Linux users may face some challenges during the installation, but with the right approach, these can be overcome. Additionally, optimizing Android Studio performance on Linux systems is crucial for a seamless development experience. Let’s dive into the details.
Steps for Installation
- Download the Android Studio package for Linux from the official website.
- Extract the downloaded package to a desired location on your system.
- Open a terminal window and navigate to the ‘bin’ directory within the extracted Android Studio folder.
- Run the ‘studio.sh’ script to start the Android Studio setup wizard.
- Follow the on-screen instructions to complete the installation process.
Challenges for Linux Users
- Dependency Issues: Linux distributions may require specific dependencies to be installed before Android Studio can run properly.
- Permissions: Users may encounter permission issues while running Android Studio, which can be resolved by adjusting file permissions.
- Integration: Some Linux desktop environments may not integrate Android Studio seamlessly, requiring additional configuration.
Tips for Optimization
- Allocate Sufficient Memory: Ensure that you allocate enough memory to Android Studio in the IDE settings for optimal performance.
- Use SSD Storage: Running Android Studio on a system with SSD storage can significantly improve build times and overall performance.
- Update Drivers: Keep your system drivers up to date to prevent compatibility issues and enhance performance.
Setting up Android SDK
Setting up the Android SDK is a crucial step during the installation process of Android Studio. The Android SDK, or Software Development Kit, contains the necessary tools, libraries, and resources needed to develop Android applications.
Configuring Android SDK in Android Studio
Once Android Studio is installed, follow these steps to configure the Android SDK:
- Open Android Studio and go to ‘File’ > ‘Settings’ on Windows or ‘Android Studio’ > ‘Preferences’ on macOS.
- In the left panel, navigate to ‘Appearance & Behavior’ > ‘System Settings’ > ‘Android SDK’.
- Here, you can see the SDK Platforms and SDK Tools tabs. In the SDK Platforms tab, select the Android versions you want to target for your app development.
- Switch to the SDK Tools tab and check the boxes for the additional SDK tools you need.
- Click ‘Apply’ and then ‘OK’ to save the changes and download the selected components.
Troubleshooting Common SDK Setup Issues
Here are some common issues you may encounter while setting up the Android SDK and how to troubleshoot them:
- If the SDK Manager is unable to fetch repository information, ensure your internet connection is stable and check proxy settings if applicable.
- If you encounter ‘SDK tools directory is missing’ error, verify that the correct path to the SDK is set in Android Studio settings.
- For ‘SDK components were not installed’ error, try restarting Android Studio and running it as an administrator to resolve permission issues.
Configuring Virtual Devices
Setting up virtual devices for testing Android apps is crucial for developers to ensure their applications run smoothly across different devices. Android Studio provides various virtual devices that mimic real Android devices, allowing developers to test their apps efficiently.
Types of Virtual Devices
- Pixel Devices: These virtual devices emulate the popular Google Pixel smartphones, providing a clean Android experience for testing.
- Android Wear: Virtual devices for testing apps designed for wearable devices, such as smartwatches.
- Android TV: Virtual devices to test apps optimized for Android TV platforms, ensuring compatibility and performance.
- Android Automotive: Virtual devices to test apps for in-car entertainment systems running Android Automotive OS.
Best Practices for Configuring Virtual Devices
- Allocate Sufficient Resources: Ensure that your virtual device has enough RAM, CPU, and storage allocated to run the app smoothly.
- Use Hardware Acceleration: Enable hardware acceleration to improve the performance of the virtual device during testing.
- Update System Images: Regularly update the system images of your virtual devices to test apps on the latest Android versions.
- Customize Device Settings: Configure the virtual device settings to match the specifications of the target devices for accurate testing.
- Snapshot: Use snapshot functionality to save the state of the virtual device, allowing you to resume testing quickly without starting from scratch.
Epilogue
In conclusion, mastering the installation of Android Studio is a crucial step towards becoming a proficient Android developer. Dive in and start creating innovative apps today!