Embark on your Alteryx installation journey with this detailed guide that covers everything you need to know for a seamless setup process. From understanding the significance of Alteryx in data analytics to troubleshooting common installation errors, this guide has you covered.
Introduction to Alteryx Installation
Alteryx is a powerful data analytics platform that allows users to streamline the process of preparing, blending, and analyzing data. It is widely used by data analysts, business analysts, and data scientists to efficiently extract insights from complex datasets.Proper installation of Alteryx is crucial to ensure that the software functions correctly and that users can take full advantage of its capabilities.
A smooth installation process helps in avoiding technical issues and ensures a seamless user experience.
Overview of Alteryx Installation Steps
- Download the Alteryx installer from the official website.
- Run the installer and follow the on-screen instructions to complete the installation process.
- Activate the software using the license key provided.
- Configure any additional settings according to your preferences.
- Once the installation is complete, launch Alteryx and start exploring its features.
System Requirements for Alteryx Installation
To ensure a smooth installation process and optimal performance of Alteryx, it is essential to meet the minimum system requirements as well as consider the recommended specifications. Let’s dive into the details:
Minimum System Requirements
- Operating System: Windows 7, 8, 10 (64-bit), or Windows Server 2012, 2016, 2019
- Processor: Intel Core i5 or equivalent
- Memory: 8 GB RAM
- Free Disk Space: 5 GB
- Internet Access: Required for product activation and updates
Recommended System Specifications
- Operating System: Windows 10 (64-bit) or Windows Server 2019
- Processor: Intel Core i7 or equivalent
- Memory: 16 GB RAM
- Free Disk Space: SSD with 10 GB or more
- Graphics: Dedicated GPU with 2GB VRAM
Compatibility with Operating Systems
Alteryx is primarily designed to run on Windows operating systems, including Windows 7, 8, and 10. It is also compatible with Windows Server versions such as 2012, 2016, and 2019. Unfortunately, Alteryx does not support installation on macOS or Linux natively. However, you can explore virtualization options or cloud-based solutions to run Alteryx on non-Windows systems.
Downloading Alteryx
To start using Alteryx, you need to download the software onto your system. Below are the steps to guide you through the downloading process.
Official Alteryx Installer
You can find the official Alteryx installer on the official Alteryx website. Simply visit the website and navigate to the download section to access the installer.
Additional Files and Dependencies
When downloading Alteryx, make sure to check if there are any additional files or dependencies required for the installation. These may include specific drivers, plugins, or software components that are necessary for Alteryx to function properly. Be sure to download and install these additional files as instructed to ensure a smooth installation process.
Installing Alteryx
When it comes to installing Alteryx, the process is fairly straightforward but may require some attention to configuration settings and potential troubleshooting along the way.
Installation Process
- Begin by running the Alteryx installer that you downloaded previously.
- Follow the on-screen instructions to proceed with the installation.
- Choose the destination folder where you want Alteryx to be installed.
- Select any additional components or features you want to include during the installation.
- Wait for the installation process to complete, and then launch Alteryx to start using the software.
Configuration Settings
- During the installation, you may be prompted to configure settings such as default file locations, user preferences, and license activation.
- Make sure to review and adjust these settings according to your needs and preferences.
- Pay special attention to license activation to ensure you can use Alteryx without any interruptions.
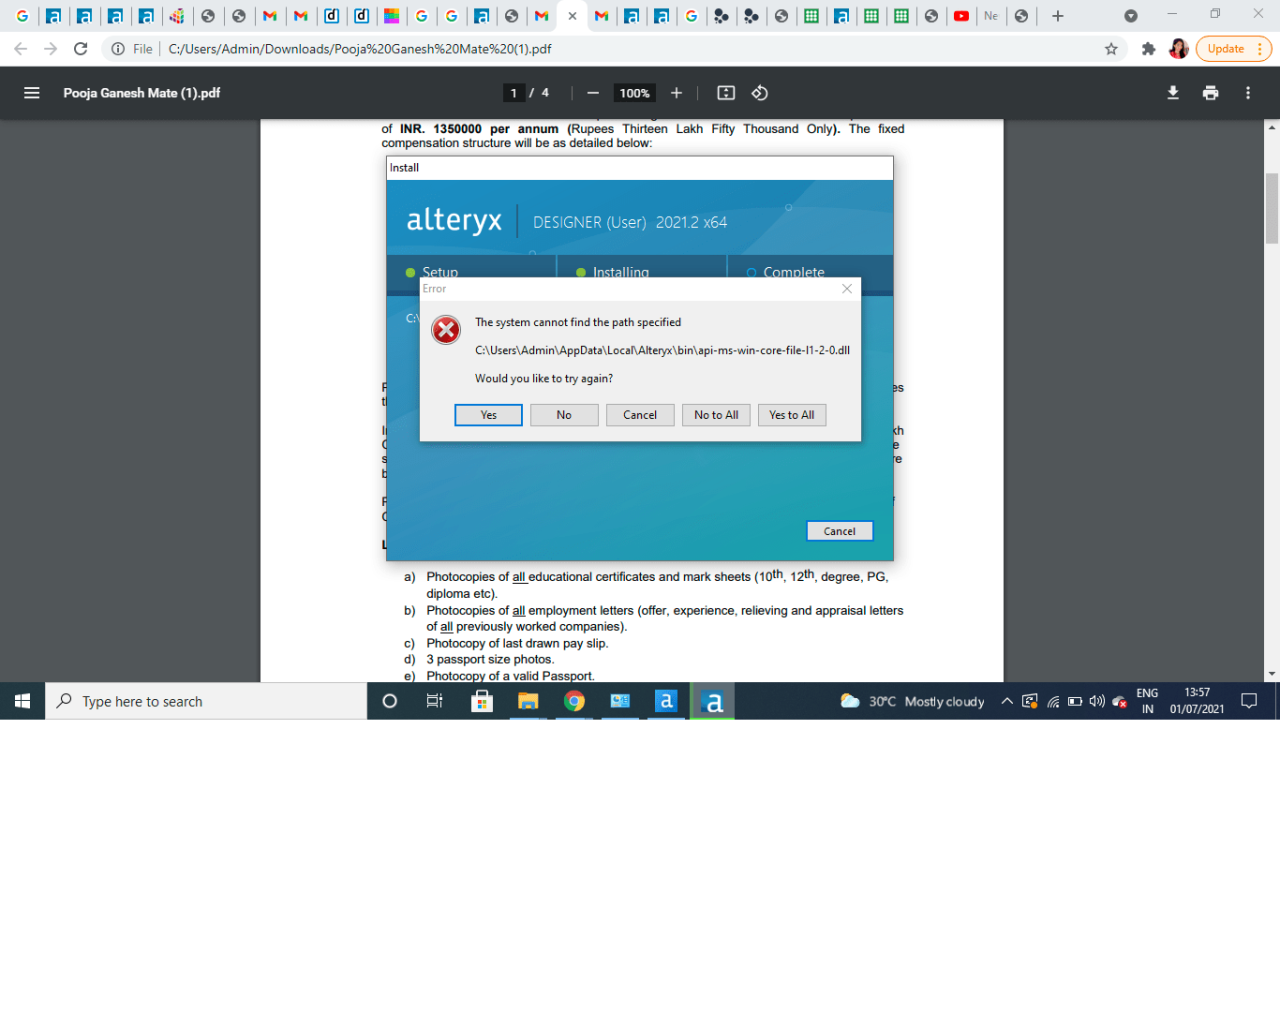
Troubleshooting Tips
- If you encounter any errors during the installation process, check the Alteryx website or user forums for troubleshooting guidance.
- Common installation errors may include compatibility issues with other software, insufficient system resources, or network connectivity problems.
- Ensure that your system meets the minimum requirements for running Alteryx and that you have administrative privileges to install the software.
- Try reinstalling Alteryx if the initial installation fails, as this can sometimes resolve any underlying issues.
Activating and Licensing Alteryx
After installing Alteryx, the next step is to activate and license the software to unlock its full functionality. Below are the steps to activate and license Alteryx:
Activating Alteryx
Once Alteryx is installed, open the software. You will be prompted to activate your license. Follow the on-screen instructions to activate Alteryx using the license key provided to you.
Licensing Alteryx for Full Functionality
After activation, you will need to license Alteryx to access all its features. To do this, navigate to the license configuration section within the software. Enter your license information, which typically includes the license key and any other required details.
Subscription Models and Licensing Options
Alteryx offers various subscription models and licensing options to cater to different user needs. These options may include annual subscriptions, perpetual licenses, or usage-based pricing. Choose the option that best suits your requirements and budget.
Post-Installation Setup
After successfully installing Alteryx, there are a few post-installation steps you need to take to ensure that the software is ready for use and optimized for performance.
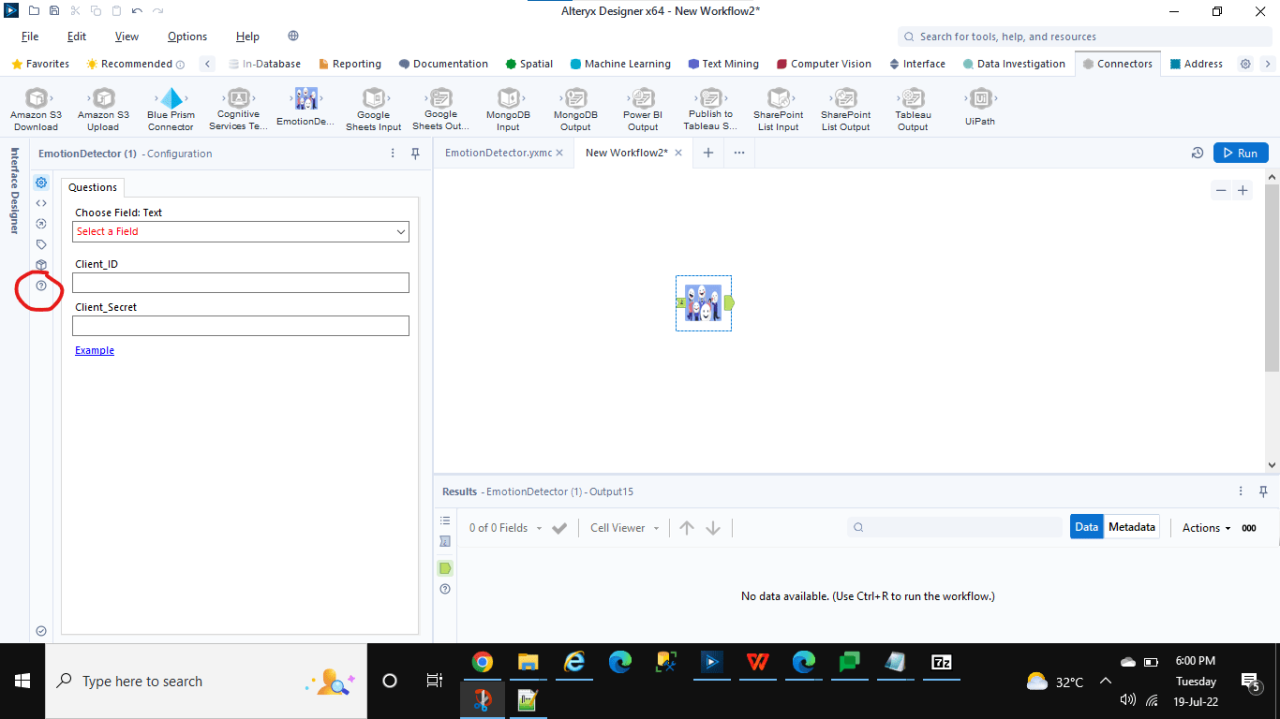
Configuring User Settings
- Upon first launch, make sure to configure your user settings such as interface preferences, default file locations, and any other personalization options.
- Set up your tool palette with frequently used tools for easy access during workflows.
Adding Data Connections
- Configure data connections to various sources like databases, cloud platforms, and files to seamlessly import and export data in Alteryx.
- Test the connections to ensure they are working correctly and troubleshoot any issues that may arise.
Optimizing Performance
- Allocate sufficient system resources to Alteryx based on the volume of data and complexity of workflows you will be handling.
- Clean up and organize your workflows by removing any unnecessary tools, reducing data input/output, and optimizing workflows for better performance.
- Regularly update Alteryx to the latest version to benefit from performance improvements and bug fixes.
Closing Summary
In conclusion, mastering the installation of Alteryx is essential for leveraging its powerful data analytics capabilities. Follow the steps Artikeld here to ensure a successful installation and unleash the full potential of Alteryx for your data projects.