Installing Android Studio opens up a world of possibilities for Android app development. This comprehensive guide will walk you through the process with ease and clarity, ensuring a smooth setup for beginners.
Introduction to Android Studio Installation

Android Studio is a powerful integrated development environment (IDE) specifically designed for Android app development. It provides a wide range of tools and features to streamline the app development process, making it easier and more efficient for developers.
System Requirements
- Operating System: Windows (7/8/10), macOS (10.10+), or Linux (Debian/Ubuntu/Fedora/SUSE).
- RAM: Minimum 8GB, 16GB recommended.
- Disk Space: Minimum 4GB, 8GB recommended.
- Processor: Intel i5 or higher.
Benefits of Android Studio
- Intuitive User Interface: Android Studio offers a user-friendly interface with drag-and-drop functionality, making it easy for developers to design and build Android apps.
- Advanced Code Editing Tools: With features like code completion, refactoring, and debugging, Android Studio helps developers write clean and efficient code.
- Emulator Support: Android Studio includes an emulator that allows developers to test their apps on different Android devices without the need for physical hardware.
- Integration with Google Services: Android Studio seamlessly integrates with various Google services like Firebase, Google Cloud Platform, and Google Play Store for easy app deployment and management.
Downloading Android Studio
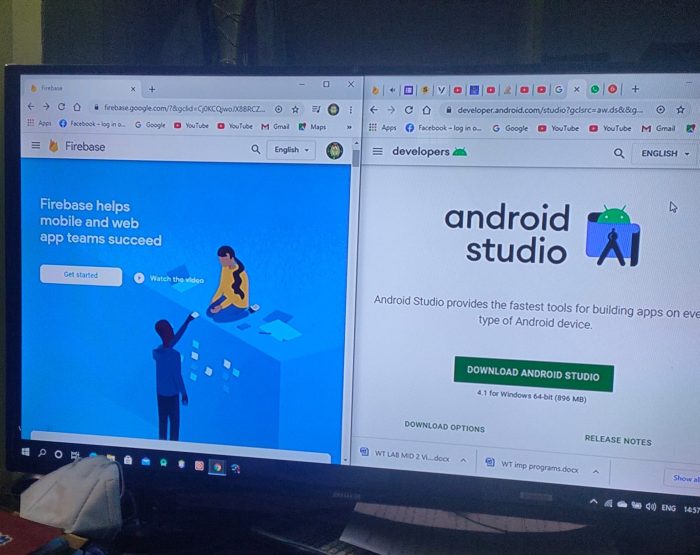
To get started with Android development, you will need to download Android Studio from the official website. Follow the steps below to download Android Studio and begin your journey in app development.
Step-by-step Guide to Download Android Studio
- Go to the official Android Studio website at https://developer.android.com/studio .
- Click on the “Download” button to start downloading the Android Studio installer.
- Choose your operating system (Windows, Mac, or Linux) and click “Download” to begin the download process.
- Once the download is complete, run the installer and follow the on-screen instructions to install Android Studio on your computer.
Alternative Sources for Downloading Android Studio
If you encounter any issues with downloading Android Studio from the official website, you can try downloading it from alternative sources such as reputable software download platforms like CNET or Softonic. However, it is recommended to always download software from the official source to ensure security and reliability.
Different Versions of Android Studio
- Android Studio Arctic Fox (2020.3.1)
-This is the latest stable version of Android Studio, recommended for most developers. - Android Studio Bumblebee (2021.1.1)
-This is the latest version with new features and improvements, suitable for developers looking to explore the latest updates. - Android Studio Canary – This is the cutting-edge version with the latest features and updates, but it may contain bugs and is not recommended for production use.
Installing Android Studio on Windows

To install Android Studio on a Windows operating system, follow these steps:
Downloading Android Studio
- Go to the official Android Studio website and click on the “Download” button.
- Choose the version suitable for Windows and start the download process.
- Once the download is complete, run the installer.
Common Errors and Troubleshooting
- If you encounter the error “JDK not found,” make sure to install the Java Development Kit (JDK) and set the JAVA_HOME environment variable.
- Another common error is “HAXM installation failed,” which can be resolved by enabling virtualization in your BIOS settings.
- If Android Studio is running slow, try increasing the RAM allocated to it in the settings.
Optimizing Android Studio Performance on Windows
- Close unnecessary projects and windows to reduce memory usage.
- Enable Power Save Mode in Android Studio to optimize performance.
- Use SSD storage for faster file access and compilation times.
Installing Android Studio on Mac
To install Android Studio on a Mac computer, follow these specific steps:
Step 1: Download Android Studio
- Go to the official Android Studio website and download the Mac version of the software.
- Once the download is complete, open the .dmg file to begin the installation process.
Step 2: Install Android Studio
- Drag and drop the Android Studio icon into the Applications folder to install the software on your Mac.
- Open Android Studio from the Applications folder and follow the on-screen instructions to complete the setup.
Compatibility Issues and Solutions
- Compatibility with macOS versions: Android Studio may encounter issues with older macOS versions. Ensure your Mac is running a compatible operating system to avoid any installation problems.
- Java Development Kit (JDK) compatibility: Android Studio requires JDK to function properly. Make sure you have the latest version of JDK installed on your Mac.
Best Practices for Setting Up Android Studio on Mac
- Customize Android Studio settings to suit your preferences and workflow.
- Regularly update Android Studio and related components to benefit from the latest features and improvements.
- Optimize performance by allocating sufficient memory and resources to Android Studio in the settings.
Configuring Android SDK
Configuring the Android SDK within Android Studio is crucial for app development as it provides the necessary tools, libraries, and resources to build, test, and debug Android applications.
Setting up Android SDK in Android Studio
When setting up and configuring the Android SDK in Android Studio, follow these steps:
- Open Android Studio and navigate to “Tools” -> “SDK Manager”.
- Under the “SDK Platforms” tab, select the desired Android versions to target for your app.
- Switch to the “SDK Tools” tab and select the necessary tools like “Android SDK Build-Tools”, “Android Emulator”, and “Android SDK Platform-Tools”.
- Click on “Apply” to install the selected SDK components.
- Once the installation is complete, make sure to set the SDK path in Android Studio by going to “File” -> “Project Structure” -> “SDK Location”.
Choosing the Right SDK Components
It is essential to choose the right SDK components for app development to ensure compatibility and optimal performance. Here are some key factors to consider:
- Target Android Versions: Select SDK Platforms that cover the range of Android versions you want to support.
- Build Tools: Install the latest Android SDK Build-Tools for compiling and building your app efficiently.
- Platform Tools: Include Android SDK Platform-Tools for essential development tasks like debugging and profiling.
- Additional Components: Depending on your app requirements, consider adding extra components like support libraries, Google Play services, or system images for testing on different devices.
Setting up Virtual Devices
Setting up virtual devices in Android Studio allows developers to test their apps on various virtual devices without the need for physical devices. This is essential for ensuring app compatibility across different screen sizes and resolutions.
Configuring Virtual Devices
- Open Android Studio and click on the AVD Manager icon in the toolbar.
- Click on “Create Virtual Device” and choose a hardware profile for the virtual device.
- Select a system image for the device, ensuring it matches the API level of your app.
- Customize additional settings such as RAM size, internal storage, and emulator performance.
- Finish the setup and launch the virtual device for testing your app.
Optimizing Virtual Device Performance
- Avoid running multiple virtual devices simultaneously to prevent performance issues.
- Allocate sufficient RAM and CPU resources to the virtual device for optimal performance.
- Enable hardware acceleration (HAXM) in the AVD settings to improve emulator speed.
- Regularly update your system images and emulator software for bug fixes and performance enhancements.
Updating Android Studio
Updating Android Studio is crucial to ensure you have access to the latest features, improvements, and bug fixes. Follow the steps below to update Android Studio to the latest version and keep your development environment up to date.
Steps for Updating Android Studio
- Open Android Studio on your computer.
- Go to the “Help” menu and select “Check for Updates.”
- If an update is available, follow the on-screen instructions to download and install it.
- Restart Android Studio after the update process is complete.
Benefits of Keeping Android Studio Up to Date
- Access to the latest features and improvements.
- Bug fixes for a smoother development experience.
- Compatibility with the newest Android SDK versions.
- Enhanced security and performance.
Troubleshooting Tips for Common Update Issues
- If the update fails, check your internet connection and try again.
- Make sure you have sufficient disk space for the update.
- If you encounter errors during the update process, you can try restarting your computer and attempting the update again.
- If the problem persists, you can visit the Android Studio website for support or seek help from the developer community.
Closing Notes
In conclusion, mastering the installation of Android Studio is a crucial first step towards creating innovative Android apps. With the right tools and knowledge, you’re well on your way to app development success.