Looking to set up Verizon Internet? Dive into this comprehensive guide that covers everything from preparation to testing your connection.
Get ready to transform your internet experience with Verizon’s high-speed service.
Preparation for Installation
When getting ready to install Verizon Internet in your home, there are a few important steps you should take to ensure a smooth setup process.It is crucial to first check for service availability in your area before beginning the installation process. This will save you time and prevent any potential issues with getting connected to the network.
Equipment Needed
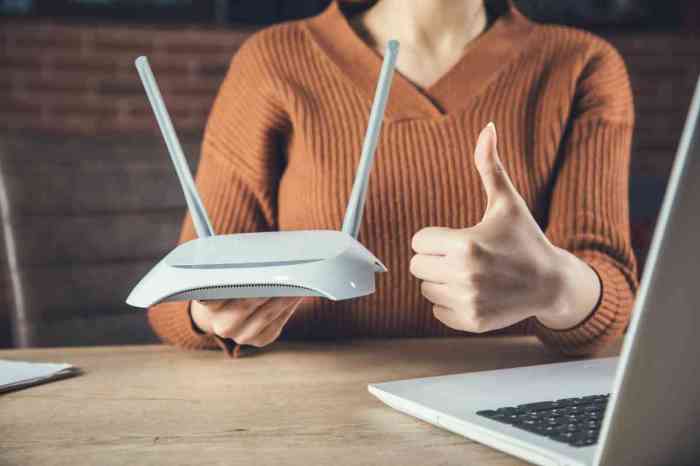
Before starting the installation, make sure you have all the necessary equipment on hand. This includes:
- Modem
- Router (if not built into the modem)
- Ethernet cables
- Power cables
- Filters (if needed for DSL connections)
Choosing the Best Location
When setting up your modem and router, it is important to choose the best location in your home for optimal performance. Consider the following tips:
- Place the modem/router in a central location to ensure a strong Wi-Fi signal throughout your home.
- Avoid placing the modem/router near any obstructions such as walls or large furniture that could block the signal.
- Elevate the modem/router off the ground to improve signal strength.
- Avoid placing the modem/router near other electronics or appliances that could cause interference.
Setting Up the Equipment
To start enjoying your Verizon internet service, you need to set up the equipment correctly. Follow the steps below to connect the modem to the cable outlet, power source, and turn it on.
Connecting the Modem to the Cable Outlet
- Locate the cable outlet in your home where you want to set up the modem.
- Connect one end of the coaxial cable to the cable outlet and the other end to the modem’s coaxial port.
- Ensure the connection is secure by tightening the connectors on both ends.
Connecting the Modem to the Power Source
- Plug the power adapter into the modem’s power port.
- Connect the power adapter to a power outlet near the modem.
- Ensure the modem’s power light turns on to indicate it is receiving power.
Turning On the Modem
- Press the power button on the modem to turn it on. Wait for the modem to boot up completely.
- Observe the indicator lights on the modem to ensure all necessary connections are established.
- Once the power and internet indicator lights are solid, your modem is ready for use.
It is essential to follow the manufacturer’s instructions carefully to avoid any setup errors that may affect your internet connection.
Activating the Service
To activate your Verizon Internet service, you can do so easily online through the Verizon website or by contacting customer support. This process is essential to start enjoying your high-speed internet connection.
Online Activation
- Log in to your Verizon account on the official website.
- Navigate to the activation section for internet services.
- Follow the on-screen instructions to activate your service.
Customer Support Activation
- Contact Verizon customer support through phone or live chat.
- Provide your account details and request assistance with activating your internet service.
- Follow the guidance provided by the customer support representative.
Common Activation Issues and Troubleshooting
- If you encounter issues during activation, ensure you have entered the correct account information.
- Check that all cables are properly connected to the modem and power source.
- Restart the modem and router if activation fails initially.
- Reach out to customer support for further assistance if problems persist.
Tips for Smooth Activation
- Double-check your account details before starting the activation process.
- Ensure all equipment is properly set up and connected before attempting activation.
- Follow the step-by-step instructions carefully to avoid any errors.
- Have customer support contact information handy in case you need assistance.
- Use online speed testing tools like Ookla’s Speedtest or Google’s speed test to measure your internet speed.
- Ensure no other devices are consuming bandwidth during the test for accurate results.
- Compare the speed results with the plan you subscribed to with Verizon to ensure you are getting the promised speed.
- If you are experiencing slow speeds, try restarting your router and modem to refresh the connection.
- Check for any loose cables or connections that may be causing disruptions in the internet service.
- Ensure that your devices are updated with the latest software and drivers to avoid compatibility issues.
- Contact Verizon customer support if you are unable to resolve the connectivity issues on your own.
Testing the Connection
Testing the internet connection speed after installation is crucial to ensure that you are getting the service you are paying for. It helps in identifying any potential issues and allows for troubleshooting to be done promptly.
Testing Internet Speed
Testing on Multiple Devices
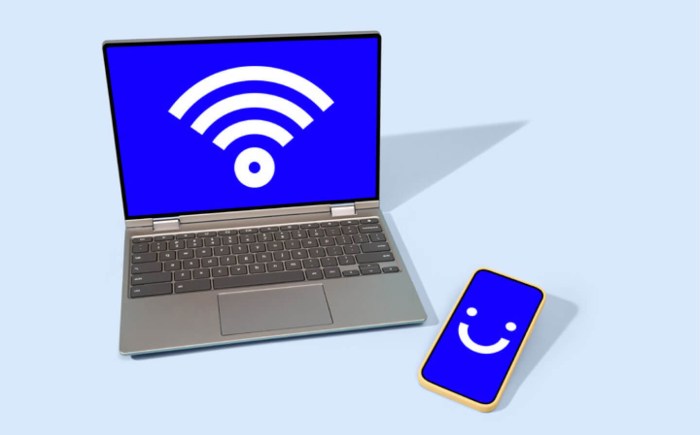
Testing the internet connection on multiple devices such as smartphones, laptops, and tablets is essential to ensure consistency across all devices. It helps in identifying any device-specific issues that may be affecting the connection.
Troubleshooting Connectivity Issues
Ending Remarks
Now that you’re all set up with Verizon Internet, enjoy seamless browsing and streaming with a connection you can rely on.