Dive into the world of Android app development with the essential tool, Android Studio. Discover why it’s the go-to IDE for developers and learn how to get started with ease.
From downloading to setting up, this guide covers everything you need to know to have Android Studio up and running in no time.
Introduction to Android Studio Installation
Android Studio is a powerful integrated development environment (IDE) specifically designed for Android app development. It provides developers with a comprehensive set of tools and features to create high-quality applications for the Android platform.
When it comes to app development, Android Studio offers several benefits over other IDEs. These include a user-friendly interface, seamless integration with Android SDK, advanced code editing and debugging tools, built-in support for version control systems, and easy access to Google services like Firebase.
System Requirements for Installing Android Studio
Before installing Android Studio, make sure your system meets the following requirements:
- Operating System: Windows (7/8/10), macOS (10.10.5 or higher), or Linux
- RAM: 8GB RAM minimum, 16GB RAM recommended
- Disk Space: 4GB disk space minimum, 8GB disk space recommended (SSD recommended)
- Resolution: 1280×800 minimum screen resolution
- Java Development Kit (JDK): Version 8 or higher
Downloading Android Studio
To get started with Android Studio, you’ll need to download the software from the official website. Here’s a step-by-step guide on how to do it:
Downloading from the Official Website
- Go to the official Android Studio website at https://developer.android.com/studio .
- Click on the “Download” button.
- Choose your operating system (Windows, macOS, or Linux).
- Click on the “Download” button next to the version compatible with your system.
- Once the download is complete, run the installer and follow the on-screen instructions to install Android Studio on your computer.
Alternative Sources for Downloading Android Studio
You can also download Android Studio from third-party websites, but it’s recommended to always get it from the official website to ensure you have the latest and most secure version.
Stable vs. Beta Versions
When downloading Android Studio, you may come across stable and beta versions. Here are the key differences:
- Stable Version: The stable version is the most reliable and well-tested version of Android Studio. It is recommended for most users, especially those who require a stable development environment.
- Beta Version: The beta version contains new features and updates that are still in testing. It may have bugs or issues that could affect your development process. It is suitable for users who want to try out the latest features but are willing to deal with potential instability.
Installing Android Studio
To begin developing Android applications, you need to install Android Studio on your computer. Below are the installation processes for Windows OS, macOS, and Linux.
Installing Android Studio on Windows OS
- Download the Android Studio installer from the official website.
- Double-click on the downloaded .exe file to begin the installation process.
- Follow the on-screen instructions, selecting the components you want to install.
- Choose the installation location and click on the “Install” button.
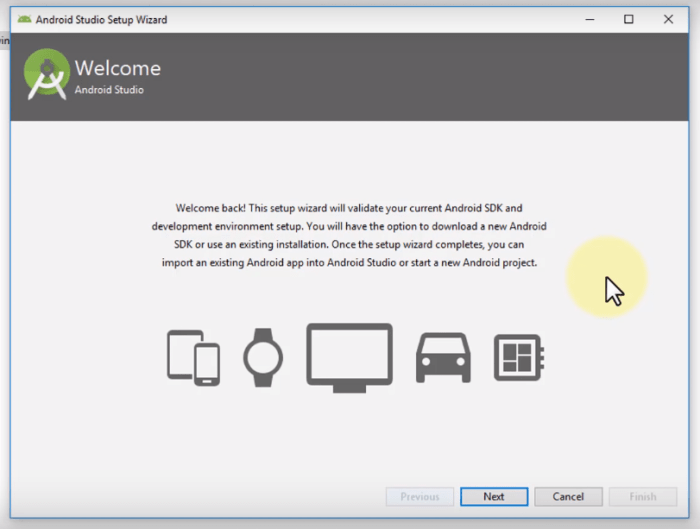
- Once the installation is complete, launch Android Studio and set up the necessary SDK components.
Installing Android Studio on macOS
- Download the Android Studio DMG file from the official website.
- Open the DMG file and drag the Android Studio icon into the Applications folder.
- Launch Android Studio from the Applications folder and set up the necessary SDK components.
Installing Android Studio on Linux
- Download the Android Studio package for Linux from the official website.
- Extract the downloaded package to a location of your choice.
- Navigate to the bin directory in the extracted folder and launch Android Studio using the studio.sh script.
- Follow the on-screen instructions to set up Android Studio and the required SDK components.
Setting up Android Studio

After successfully installing Android Studio, the next step involves setting it up to ensure a smooth development experience. This includes configuring SDK components and tools, as well as setting up virtual devices for testing apps.
Configuring SDK Components and Tools
- Open Android Studio and navigate to the SDK Manager.
- Review the installed SDK components and update or install any additional components required for your app development.
- Ensure that the Build Tools, Platform Tools, and SDK Platforms are up to date for compatibility with the latest Android versions.
- Configure any other tools or plugins needed for your specific development needs.
Setting up Virtual Devices for Testing Apps
- Access the AVD Manager in Android Studio to create and manage virtual devices for testing your apps.
- Create a new virtual device by selecting the device definition, system image, and configuration settings.
- Start the virtual device to test your app on different screen sizes, resolutions, and Android versions.
- Adjust the settings of the virtual device as needed to simulate real-world conditions for app testing.
Epilogue
In conclusion, mastering Android Studio opens up endless possibilities for creating innovative apps. Take the first step towards your app development journey today!