Dive into the world of Verizon WiFi self installation as we unravel the steps, equipment needed, and troubleshooting tips to make your setup seamless and efficient.
Learn how to take control of your WiFi setup and enjoy the benefits of self-installation over professional assistance.
Overview of Verizon WiFi Self Installation
Verizon WiFi self-installation provides customers with the flexibility and convenience of setting up their own WiFi services without the need for a professional technician. This option allows users to save time and money while still enjoying a seamless installation process.
Benefits of Choosing Self-Installation
- Cost-effective: By opting for self-installation, customers can avoid additional installation fees that come with professional services.
- Convenience: Users can set up their WiFi at their own pace and schedule, without having to wait for a technician to arrive.
- Empowerment: Self-installation gives customers a hands-on approach to their WiFi setup, allowing them to learn more about their services.
General Steps Involved in Self-Installing Verizon WiFi
- Unboxing: Start by unpacking the Verizon WiFi equipment that has been delivered to your doorstep.
- Connecting Devices: Follow the instructions provided to connect your modem and router to power sources and devices.
- Activating Service: Use the activation guide to activate your WiFi service and set up your network name and password.
- Testing Connection: Ensure that your devices are connected to the WiFi network and test the internet connection for reliability.
Equipment Required for Verizon WiFi Self Installation
To successfully set up your Verizon WiFi through self-installation, you will need the following equipment:
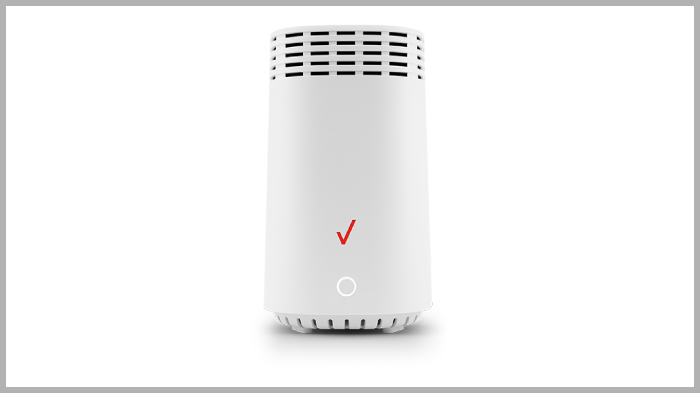
1. Verizon Gateway Router
The Verizon Gateway Router is the main piece of equipment that connects your devices to the internet. It acts as the central hub for your WiFi network, providing a secure connection and distributing the internet signal throughout your home.
2. Ethernet Cable
An Ethernet cable is required to connect your devices directly to the Verizon Gateway Router for a stable and high-speed internet connection. This cable ensures a reliable connection for devices that do not have WiFi capabilities or for those that require a faster connection.
3. Coaxial Cable
The Coaxial cable is used to connect the Verizon Gateway Router to the wall outlet where the internet signal is delivered. This cable ensures that the internet signal can be transmitted from the wall outlet to the router for distribution throughout your home.
4. Power Cord
The Power Cord is necessary to supply electricity to the Verizon Gateway Router, ensuring that it can function properly and provide a consistent internet connection to your devices.
5. Instruction Manual
The Instruction Manual provided by Verizon contains step-by-step guidelines on how to set up your WiFi network using the self-installation process. It is essential to follow the instructions carefully to ensure a successful installation.Customers can obtain the required equipment for Verizon WiFi self-installation by ordering a self-installation kit from Verizon directly. The kit typically includes all the necessary equipment mentioned above, along with detailed instructions on how to set up your WiFi network.
Alternatively, customers can purchase the required equipment separately from authorized Verizon retailers or online stores.
Setting Up Verizon WiFi Router
When setting up your Verizon WiFi router, it’s essential to follow the steps carefully to ensure a smooth and successful installation process. This will enable you to enjoy a reliable and secure internet connection in your home.
Connecting the Router to the Internet
To begin, connect one end of the Ethernet cable to the WAN (Internet) port on your Verizon WiFi router and the other end to the Ethernet port on your modem. Make sure both devices are powered on.
Configuring Settings
Next, access the router’s settings by entering its IP address in a web browser. This will allow you to configure important settings such as network name (SSID) and password. Make sure to create a strong password to secure your WiFi network.
Optimizing Router Placement
For optimal WiFi coverage, place your router in a central location in your home away from obstructions such as walls or furniture. Elevating the router off the floor and positioning antennas vertically can also help improve signal strength.Remember to test your WiFi connection after setting up the router to ensure everything is working correctly. Following these steps will help you set up your Verizon WiFi router efficiently and enjoy a seamless internet experience in your home.
Troubleshooting Common Issues
When setting up your Verizon WiFi through self-installation, you may encounter some common issues that can affect connectivity. Below are some troubleshooting steps to help you resolve these problems.
Connection Issues
- Check all cable connections to ensure they are securely plugged in.
- Restart your Verizon WiFi router by unplugging it for 30 seconds and then plugging it back in.
- Verify that your WiFi network name (SSID) and password are correctly entered on your devices.
Slow Internet Speed
- Check for any obstructions that may be blocking the WiFi signal.
- Position your Verizon WiFi router in a central location for better coverage.
- Reduce the number of devices connected to the WiFi network to improve speed.
No Internet Connection
- Reset your Verizon WiFi router to its factory settings and reconfigure it.
- Contact Verizon customer support for assistance if you still cannot establish an internet connection.
Ultimate Conclusion
In conclusion, mastering the art of Verizon WiFi self installation empowers you to customize your setup, troubleshoot common issues, and enjoy a seamless internet experience.