Embark on a journey through the ins and outs of water heater installation in Thornton, CO, diving into the crucial details that every homeowner should know.
From the importance of professional installation to the nitty-gritty of post-installation maintenance, this guide has you covered.
Overview of Water Heater Installation in Thornton, CO
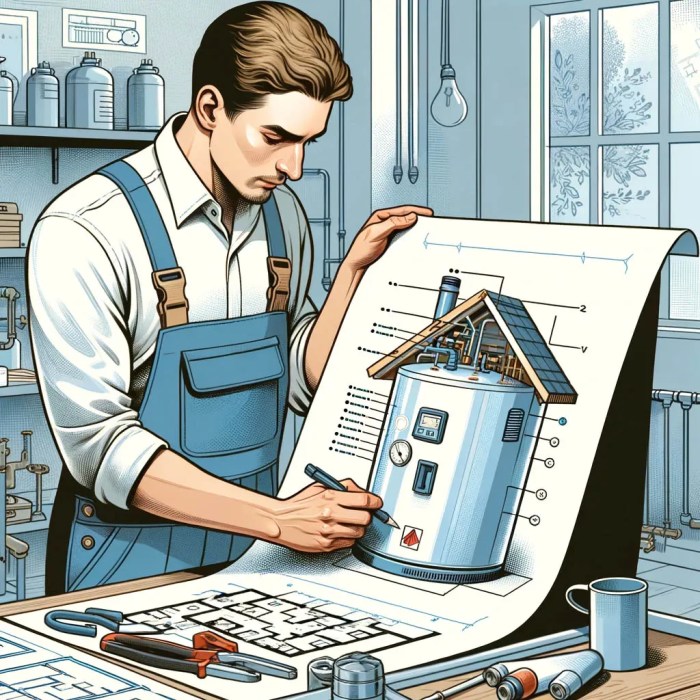
When it comes to water heater installation in Thornton, CO, it is crucial to rely on professional services to ensure safety, efficiency, and compliance with local regulations. Professional installation also helps in maximizing the lifespan of the water heater and avoiding costly repairs in the future.
Common Types of Water Heaters
- Tank Water Heaters: These are the traditional water heaters that store and heat a large volume of water in a tank. They are cost-effective but may have limited hot water supply.
- Tankless Water Heaters: These units heat water on demand, providing endless hot water supply. They are energy-efficient but come with a higher upfront cost.
- Heat Pump Water Heaters: These units use electricity to move heat from the air or ground to heat water. They are energy-efficient but may not be suitable for all climates.
Average Cost Range for Installation
On average, the cost of water heater installation in Thornton, CO ranges from $800 to $1,500, depending on the type of water heater, labor costs, and any additional plumbing work required. It is advisable to get multiple quotes from different professionals to ensure you are getting the best value for your money.
Hiring a Professional Installer
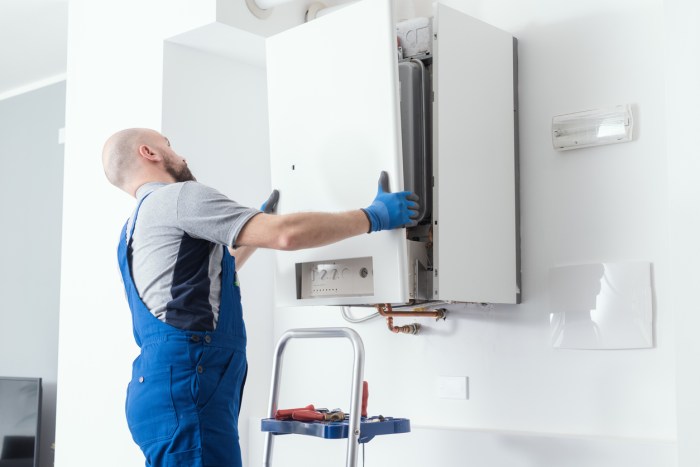
When it comes to water heater installation in Thornton, CO, hiring a professional installer is crucial to ensure the job is done correctly and safely. Here is a step-by-step guide on how to choose a reputable water heater installation company in Thornton, CO.
Qualifications and Certifications to Look For
- Look for a company that is licensed and insured to operate in Thornton, CO. This ensures they meet the necessary legal requirements to perform the installation.
- Check if the installers are certified by reputable organizations such as the National Association of Home Builders (NAHB) or the National Association of Plumbing-Heating-Cooling Contractors (PHCC). These certifications demonstrate their expertise in the field.
- Ask about the experience of the installers. A company with experienced professionals is more likely to provide quality workmanship.
Advantages of Hiring a Professional vs. DIY Installation
- Professional installers have the knowledge and skills to properly install a water heater, ensuring it functions efficiently and safely.
- DIY installation may void the warranty of the water heater, whereas hiring a professional ensures that the warranty remains valid.
- Professional installers have the necessary tools and equipment to complete the installation quickly and correctly, saving you time and hassle.
- By hiring a professional, you can have peace of mind knowing that the installation is done right the first time, reducing the risk of future issues.
Preparation for Installation
Before the installation day, homeowners need to make sure they are fully prepared for the process. This includes selecting the right location for the water heater and ensuring proper ventilation is in place.
Choosing the Right Location
When deciding where to install your water heater, it is important to consider a few key factors. First, the location should be easily accessible for maintenance and repairs. It should also be close to the main water supply and electrical or gas connections. Additionally, the area should have enough space for the water heater and proper drainage in case of leaks.
Ensuring Proper Ventilation
Proper ventilation is crucial for the safe operation of your water heater. A lack of ventilation can lead to a buildup of harmful gases such as carbon monoxide, posing a serious health risk. Make sure there is enough space around the water heater for proper airflow and consider installing a vent pipe to direct any fumes outside.
Installation Process
Installing a water heater involves several key steps to ensure a safe and efficient setup. It is crucial to follow these steps carefully to comply with local building codes and regulations.
Step 1: Preparation
Before beginning the installation process, make sure to shut off the power and water supply to the existing water heater. Drain the tank completely and disconnect any electrical or plumbing connections.
Step 2: Removal of Old Water Heater
Carefully remove the old water heater, ensuring it is disconnected from all power sources and plumbing lines. Properly dispose of the old unit according to local regulations.
Step 3: Placement of New Water Heater
Position the new water heater in the designated location, ensuring there is proper clearance for ventilation and maintenance. Secure the unit in place according to manufacturer guidelines.
Step 4: Connection of Plumbing and Electrical
Carefully connect the plumbing lines to the new water heater, ensuring all connections are secure and leak-free. Follow the manufacturer’s instructions for electrical connections, if applicable.
Step 5: Testing and Inspection
Once the installation is complete, fill the tank with water and check for any leaks. Turn on the power and test the unit to ensure it is functioning properly. Schedule an inspection if required by local regulations.
Tips for Safe Installation
- Always follow manufacturer instructions and guidelines for installation.
- Use proper safety gear, such as gloves and safety goggles, when working on the water heater.
- Double-check all connections and fittings to ensure they are tight and secure.
- Consider hiring a professional installer if you are not confident in your ability to complete the installation safely.
Importance of Compliance
Complying with local building codes and regulations is essential to ensure the safety and efficiency of your water heater installation. Failure to adhere to these regulations can result in safety hazards, damage to your property, and potential legal consequences.
Post-Installation Maintenance
After the successful installation of your water heater in Thornton, CO, it is crucial to perform regular maintenance tasks to ensure the longevity and efficiency of your unit. By staying proactive with maintenance, you can catch potential issues early and avoid costly repairs or replacements down the line.
Routine Maintenance Tasks
- Regularly check for leaks around the water heater and address any issues promptly.
- Flush the tank at least once a year to remove sediment buildup, which can affect the heater’s efficiency.
- Test the pressure relief valve to ensure it is working correctly and release any excess pressure.
- Inspect the anode rod every few years and replace it if needed to prevent corrosion inside the tank.
Signs for Professional Maintenance or Repairs
- If you notice a significant decrease in hot water supply, it could indicate a problem with the heating element or thermostat.
- Loud banging or rumbling noises coming from the water heater may signal sediment buildup, which requires professional cleaning.
- Leaks around the tank or pooling water at the base are clear signs that you need to call a professional for repairs.
Tips for Troubleshooting Common Issues
- If you’re experiencing lukewarm water, check the thermostat settings and adjust if necessary.
- Inconsistent water temperature could be due to a faulty heating element that may need replacement.
- If you notice rusty or discolored water coming from the taps, it could indicate corrosion inside the tank, requiring immediate attention.
Last Word
In conclusion, mastering the art of water heater installation in Thornton, CO is within reach with the right knowledge and guidance. Stay informed, stay efficient, and enjoy the benefits of a properly installed water heater.